Monday, May 5, 2014

Sort of Apple Crumble Cake

This "Sort of Apple Crumble Cake" has always been a big hit with my family and friends.  
It uses basic ingredients, apples, sugar, margarine, flour and eggs for the most part, but of course there are a few additions that bump the flavor up quite a bit.
You don’t have to make such a large cake (as pictured here) in a disposable pan; I usually make a number of smaller cakes which I freeze and then re-warm. 
This super large cake has become an annual event - my oldest daughter and her childhood friends have been asking me to make it for their annual Independence Day picnic for upwards of 15 years. Now that I think about it, this is really a "can’t eat just one piece" type of cake.
I also invested in an **Apple Peeler, Slicer, Corer which makes the Apple coring, slicing peeling part easy and very professional looking!
Ingredients: (from left to right) Granny Smith Apples, Applesauce, Cake Flour, Margarine,
Cinnamon, Vanilla Sugar, Apricot Jelly, 2 Eggs, Sugar
 [Rating – easy, but there are steps involved]
Preparation time
20 minutes [using one very large aluminum disposable pan or smaller pans]
30 minutes [if you have to peel and slice the apples] 
45 minutes baking time

Ingredients
Dough
200 grams of melted margarine or butter (I use margarine)
1 cup sugar
4 cups cake flour
2 eggs
2 tablespoons oil
2 envelops of vanilla sugar
Salt 
Cake Flour, Margarine, Vanilla Sugar, 2 Eggs, Sugar
Filling 
(the measurements are approximate, you can use more or less but you must cover the dough with each layer of ingredient)
2 cups of Jelly/Jam*
2 cups Applesauce (sweetened or unsweetened) (about one can)
6-8 Granny Smith apples (peeled and sliced)**
½ cup Lemon juice (to prevent the apples from turning brown)
¼ cup sugar
Cinnamon (about 4-6 Tablespoons or more)
*Apricot, Strawberry, Blueberry, Passion Fruit or whatever you have around.
**The Apple Peeler, Corer and Slicer can be purchased from AMAZON and DOMO. 

Granny Smith Apples, Cinnamon, Jelly/Jam/Lemon Juice, Applesauce
and my good old Apple Peeler Corer Slicer**
Preparation
Step 1: Dough
In a medium sized bowl mix together with a big spoon:
Melted margarine*, sugar, oil, flour eggs and 1 envelop of vanilla sugar.
Mix with a strong spoon, until all the ingredients are mixed together (about 2-3 minutes).
The mixture will produce a dough that is soft and easy to work with. 
The dough should be soft and pliable and NOT stick to your fingers.
Let the dough rest a bit.
*(a quick zap in the microwave oven melts the margarine)


Margarine with Sugar    

Margarine, Sugar and 2 Eggs


Add the Cake Flour and Salt and Mix with that spoon

Result: Dough - soft and not sticky


Step 2: Apples
Peel and core the apples, then cut into half-moon thin slices; 
I actually cheat, I have this great apple peeler, slicer, corer** that does it all at once (see picture); all I have to do is cut the apple in half to get my half-moon shaped slices.
In a large bowl add the apples and coat with lemon juice, sugar and cinnamon.
Mix by hand until all the apples are coated evening.
Let sit of a few minutes.
**The Apple Peeler, Corer and Slicer can be purchased at AMAZON and DOMO.

My Peeler, Corer, Slicer in action**

Apple - sliced, cored and peeled

Cut slices
Slice down the center
to make half-moons


Add lemon juice, sugar and cinnamon
Mix by-hand to coat the Apples


**The Apple Peeler, Corer and Slicer can be purchased at AMAZON and DOMO.

Step 3: The Cake
This total recipe is good for a large aluminum throw away pan, with high sides.
(Feel free to make smaller cakes, as gifts or to freeze for later.)
Take a large handful of dough, squeeze it together to make a ball.
Carefully press a thin layer of the dough on the bottom or your pan, the important word is thin – don’t be afraid to go thin!
Repeat this step until the whole bottom is covered evenly.
[There should be about half the dough mixture left in the bowl.]

Apple slices, Jelly, Applesauce,
Dough and a Very Large Disposable Baking Pan

Dough on the pan before
pressing into a THIN layer


See how THIN the layer of dough should be

The whole pan is covered


                 Dough remaining in the bowl (about 2 large handfuls)
Step 4: Jelly/Jam
Next – spread the jam or jelly evenly over the dough.
Use the back of a spoon – make sure you get the jelly into the all the corners.


Adding the Jelly/Jam

Jelly/Jam spread over the Dough


Step 5: Applesauce
Spread the applesauce over the jelly/jam.
Again, Use a spoon to spread it evenly over the jelly.

Adding Applesauce

Applesauce spread over the Jelly/Jam


Step 6: Apples
Carefully place the apples in a single layer on the applesauce (see photo).
Place Apples in a single layer

Apple layer completed


Step 7: Crumble Topping
Take a big handful of squeezed together dough and using an “old fashioned” potato grater, grate the dough over the apples until they are completely covered; use all the remaining dough.
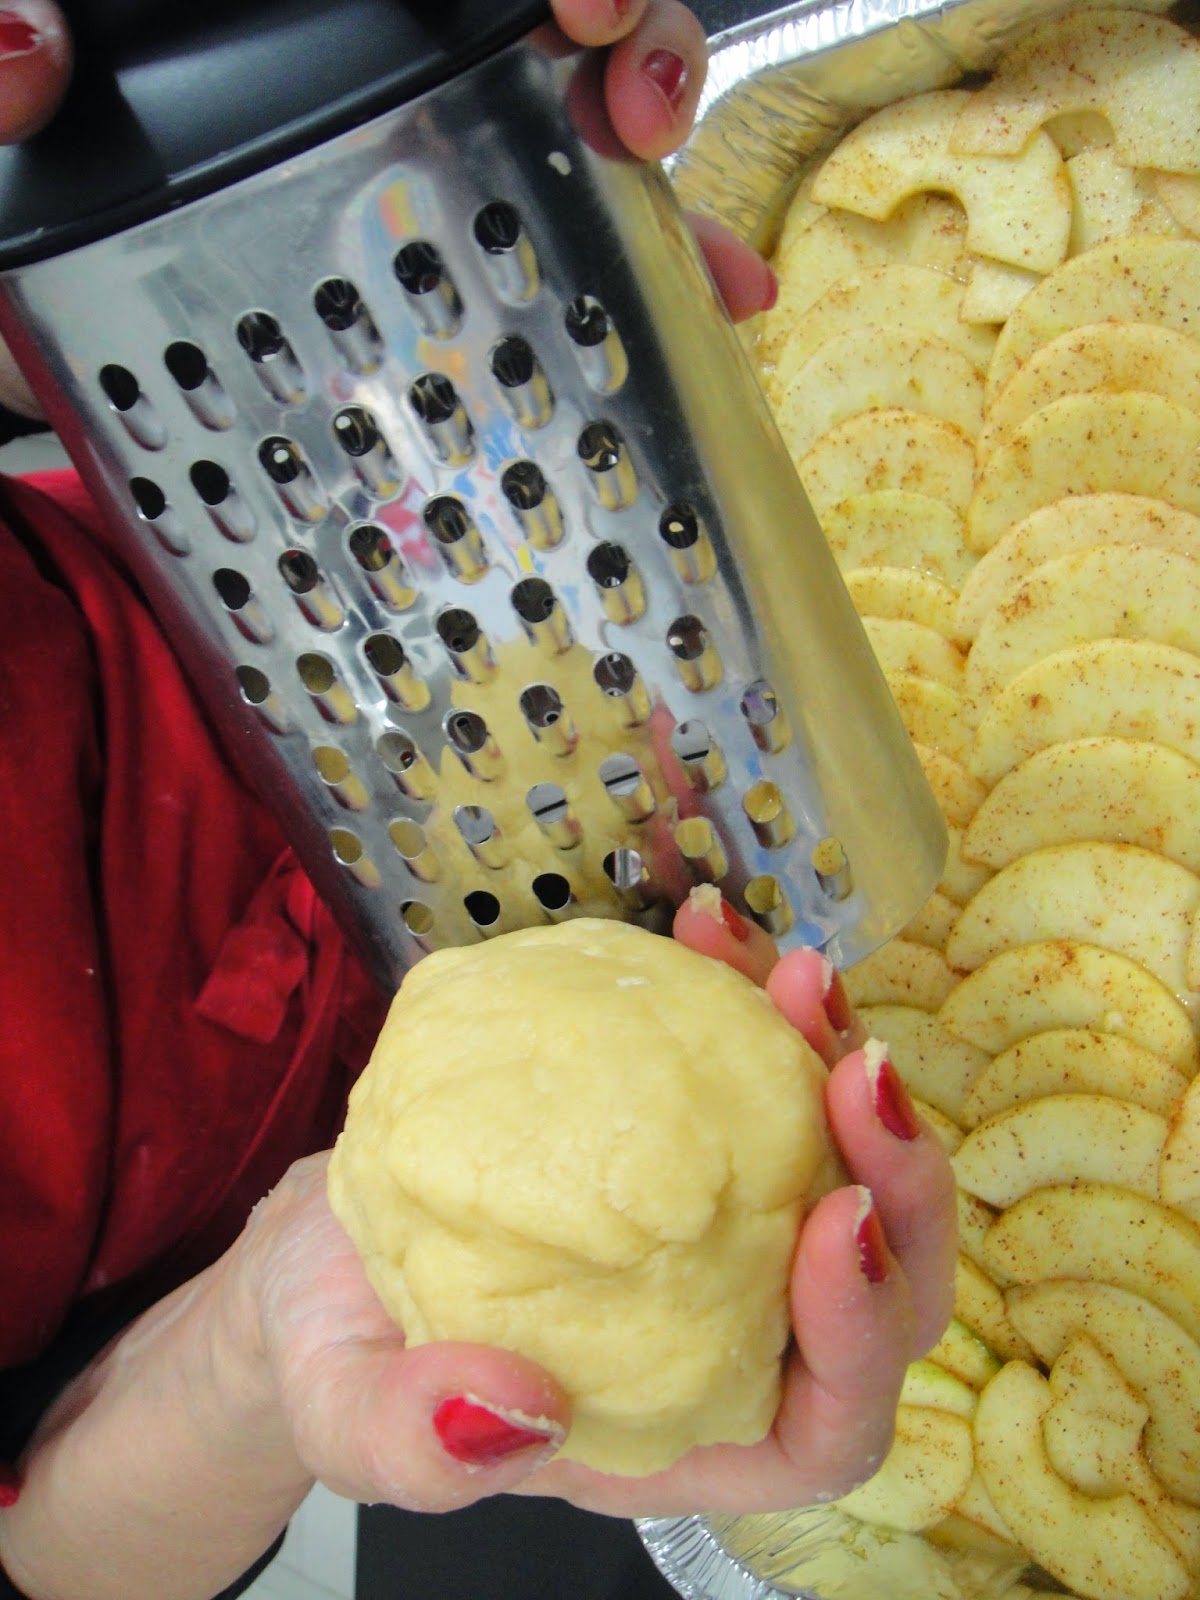
Take a fist size handful of dough
and grate over the Apples

Grated dough scattered on Apples


Grated Dough Covering Apples, etc.

Step 8: The Finish
Sprinkle some cinnamon and the second envelop of vanilla sugar over the top.
Bake at about 180°C (350°F) for about 45 minutes or until the jelly starts bubbling out the side and the top of the cake starts to brown slightly.
Finished Product:
Sort of Apple Crumble Cake
Serving Options:
The "Sort of Apple Crumble Cake" can be served hot or cold. 
It can stand alone or it can be served with Ice Cream; it doesn't need cream or syrup it is really very moist. 
It can be frozen and reheated.
I sometimes cut the cake into serving sized pieces and freeze them, that way I can treat myself to a 'single' piece with my morning coffee.


**The Apple Peeler, Corer and Slicer can be purchased at AMAZON and DOMO. 


Friday, April 18, 2014

Passover Coconut Cookies

Passover is always a time when we have lots of expected and unexpected company. This week I stopped over at a good friend’s house and was treated to the most delicious small cookies, flavored with cardamom. Naturally I asked for the recipe, it was simple and actually took minutes to prepare. But as anyone that bakes or cooks knows, if you don’t watch how the recipe is made and the cookies are shaped – the same home-style recipe made by two different people will not necessarily have the same result. Clearly, my cookies did not come out small. These cookies are sweet (I suppose you can reduce the sugar to 2/3 cups, or use a sugar substitute) one or two cookies with a good cup of tea or coffee is just delightful.

[Preparation time: 10 min + baking time ~40 minutes]
Servings: about 36 medium sized cookies

Ingredients:                                                 
·        2 cups ground coconut
·        1 cup sugar
·        2 eggs
·        ¼ teaspoon ground cardamom.

Preparation:
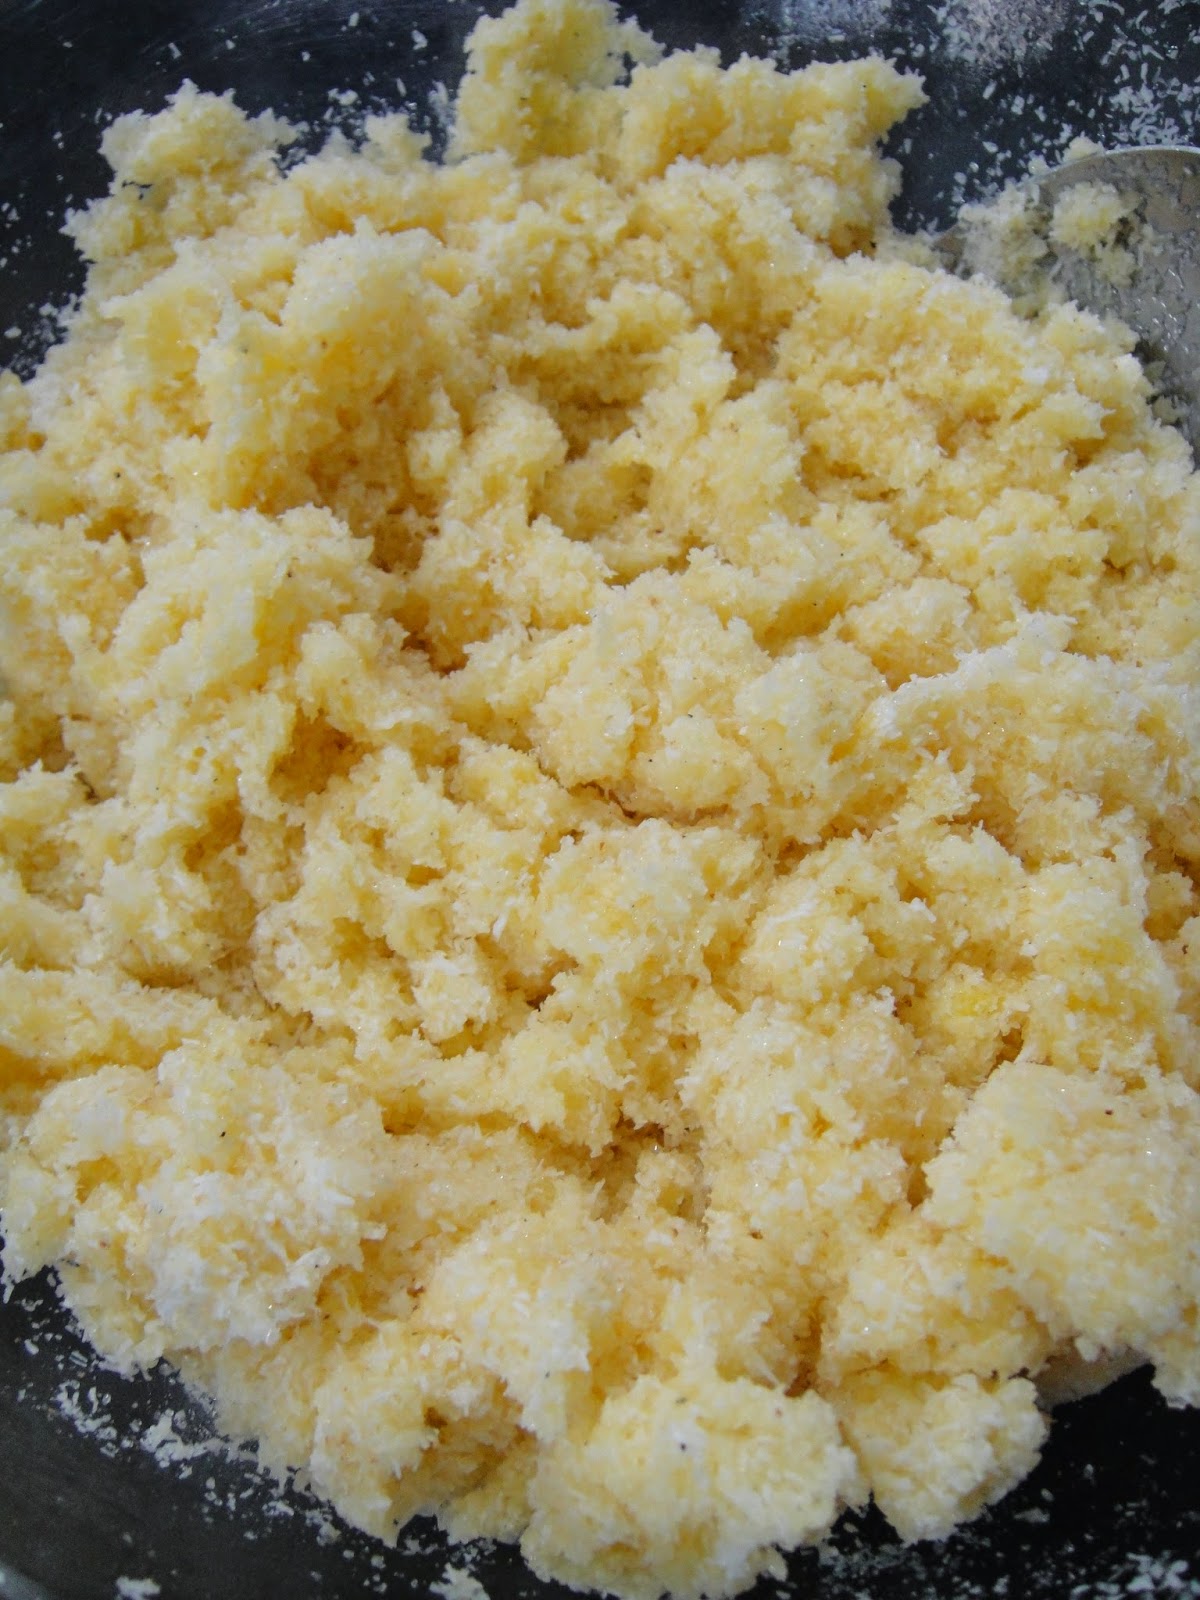
·        In a medium sized bowl mix the coconut, sugar, eggs and ground cardamom together with a large spoon.

coconut, sugar, eggs and cardamom
thoroughly mixed


·       Pinch about two teaspoons worth from the mixture and make small balls, the mixture will be a bit crumbly, you might want to wet your fingers 

Mixture will be a bit crumbly


·      Shape them into little squares, press the center down with your thumb, the cookies tend to puff up.

Close up of hand-shaped cookies
Pan full of hand-shaped cookies


Pan full of Golden Brown Coconut Cookies
·        Bake at 160°C for about 30 minutes, turning the pans every so often.
·        Turn off the oven once the cookies start to brown
·        Let the cookies sit in the oven for another 10 minutes to completely dry out
·        Cool and store in a closed container      

To Serve:

Make fresh tea or coffee and enjoy!

Tuesday, April 8, 2014

Kasha Varinshkes (Buckwheat Grouts with Bowtie Pasta)

My Russian Jewish Grandma Bertha used to make us Kasha Varnishkes, she used chicken fat (or schmaltz) to sauté the onions; I use canola oil to sauté my onions.
This is my take on her recipe for Kasha Varnishkes. It consists of buckwheat grouts (Kasha), onions and chicken stock, mixed with bowtie (farfalle) pasta. I know there are many other variations around so feel free to use your own imagination.
This recipe makes a large quantity, but rest assured it doesn't last long. It makes a great vegetarian main course or a lovely side dish. 

[Rating – almost easy]
Total Preparation time: 30-35 minutes
5 minutes to slice the onion
10 minutes to prepare the pasta – at the same time you will need
20-25 minutes to cook the kasha
5 minutes to combine all the ingredients and serve

Servings: 6-8 main course portions; 10-12 side dish portions
 
Ingredients
1 large onion - sliced
1 cup Kasha (about 240 grams)
2 cups dry Bowtie (Farfalle) Pasta (160-180 grams)
1 egg
1 Tablespoon powdered chicken soup (optional)**
2-2½ cups boiling water or chicken stock (eliminate the soup powder if you used chicken stock)
4 Tablespoons of Canola Oil 
Salt and Coarse Ground Black Pepper
**If you have chicken broth do not add the powdered chicken soup.
 
Bowtie Pasta (Farfalle), Buckwheat Grouts (Kasha), sliced Onion, an Egg

Preparation:
Onion
- Peel and thinly slice the onion
- Fry the onion in about 2 tablespoons of oil until soft and almost brown
- Set aside
Fried 0nions

Pasta (while the pasta is cooking prepare the Kasha):
- Prepare pasta as directed (boil water, add salt add pasta)
- Remove when el dente 
– Set aside
Kasha
- Mix the Kasha with the beaten raw Egg – be sure all the grains are coated with egg.
Dry Kasha with an Egg
- Place a good-sized pot on high heat and add 2 tablespoons of Canola Oil
- Add the Kasha and Egg mixture
- Stir the Kasha coated with egg in the pot until the grains are dry and separate 
Kasha Mixed with the Egg in a Good Sized Pot
- Continue stirring the Kasha around in the pot
Kasha After Frying - the Grains should be dry and separate - no egg visible

Kasha in a Pot with One Tablespoon Chicken Soup Powder
*Add 1 Tablespoon of dry chicken soup mix to the Kasha and mix well (if you are using chicken stock this step can be eliminated).
- Add 2 cups of boiling hot water or chicken stock to the Kasha (be careful the pot will bubble quite vigorously)
- Mix and Cover and continue cooking, occasionally mixing the Kasha until the water is absorbed.
- Continue cooking until Kasha is almost soft – about 20 minutes.
- The Kasha should be tender and the grains should be sort of “puffed” – if they are to el dente, then add additional hot water/chicken stock, and cook for a few more minutes.

Finishing the Dish
- Add the fried onions and the cooked bowtie pasta to the pot with the Kasha.
Cooked Kasha with Fried Onions
- Mix it all together and continue cooking for about 2-3 minutes.
- Season to taste with black pepper and salt if needed.
 
Cooked Kasha with Bowtie Pasta (Farfalle) and Fried Onions
Serving Options:
Add any one of the following  will bump up this Eastern European comfort food recipe: top with fried mushrooms; add raisins; top with pan roasted slivered almonds or roasted pine nuts, serve with yogurt, or top with a thick rich mushroom sauce.

Nutritional information:
Kasha (Buckwheat Grouts) is an earthy fiber-filled grain. It is not related to wheat, it is technically a seed, its high in carbohydrates, iron, manganese, magnesium, phosphorus, copper, and zinc. It is a wonderful gluten-free alternative to wheat.

Tuesday, March 18, 2014

Quick Left-Over Dinner #2 – Eggplant, Mushroom, Grilled Red Pepper, Onion [Quick Dish in One-Pan]


I was poking through the refrigerator this evening doing the usual after the weekend search for something good to eat. This is what I found and this is what I did with these leftovers. 
This can be mixed with an interesting pasta as a quick lunch or as a very nice, unexpectedly Vegan, side-dish.
Cubed Eggplant, Grilled Red Pepper, Tomato Paste
Garlic, Half an Onion, Scallion & Mushroom

[Preparation time: 10 min + cooking time 20 minutes]
Servings: 4-6 portions

Ingredients:                                                 
·        3-4 tablespoons of canola oil
·        About 2 cups of cubed Eggplant
·        1 Large Mushroom cut into large cubes
·        Grilled Red Pepper – about a ½ cup
·        ½ onion cubed
·        1 Healthy Tablespoon of Tomato Paste
·        2 garlic cloves finely chopped
·        ½ cup water
·        ½ scallion sliced
·        Salt and coarsely ground black pepper to taste
·        Pinch of sugar
·        Optional a small Pinch of chili pepper
Cubed Eggplant, Grilled Red Pepper, Tomato Paste
Sliced Scallion, Crushed Garlic, Half a Cubed Onion, Sliced/Cubed Mushroom
Preparation:
·        Heat all of the oil in a large frying pan
·        Add the cubed Onion
·        When the Onion starts to soften
Cubed Onion sauteing
·        Stir in the Grilled Red Pepper
·        Add the cubed Eggplant
Cubed Onion, Grilled Red Pepper & Eggplant Sauteing 
·        When the Eggplant starts to soften
·        Add the cubed Mushroom


Cubed Onion, Eggplant, Grilled Red Pepper & Mushroom

·        Sauté for about 2 minutes
·        Add the chopped garlic
·        Mix well
·        Add the Tablespoon of Tomato Paste


Cubed Onion, Eggplant, Grilled Red Pepper & Mushroom
adding Tomato Paste

·        Stir into the mixture – continue cooking the mixture; it will seem a bit dry
·        Add ½ cup of water
·        Salt and pepper to taste (sprinkle a bit of chili pepper - optional)
·        Simmer and stir until the liquid reduces

Cooked
Cubed Eggplant, Grilled Red Pepper, Tomato Paste
Garlic, Half an Onion, Scallion & Mushroom

To Serve:
Prepare your pasta, add the pasta to the Sauce with a bit of Olive Oil and mix.
Serve hot with garlic bread and a green salad.
Optional: Re-warm with chopped parsley and olive oil if you are going to serve as a side dish or over pasta.